Sa nagbi imuru C
Ubuntu Feisty farm 에 Wordpress 2.2.2 설치하기 본문
1. http://www.wordpress.org에서 최신 버젼을 다운받는다.
zip 버젼과 tar.gz 버젼이 있는데 여기서는 zip 버전의 경우를 설명한다.
2. 계정의 홈디렉토리에 압축파일을 푼다.( ubuntu 경우는 /var/www, 사용자의 경우 ~/home/www )
#unzip wordpress-2.2.2.zip
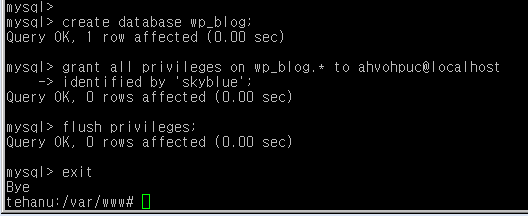
3. mysql DB에 데이터베이스 파일을 생성한다.
$ mysql -u adminusername -p
Enter password:
Welcome to the MySQL monitor. Commands end with ; or \g.
Your MySQL connection id is 5340 to server version: 3.23.54Type 'help;' or '\h' for help. Type '\c' to clear the buffer.
mysql> CREATE DATABASE databasename;
Query OK, 1 row affected (0.00 sec)mysql> GRANT ALL PRIVILEGES ON databasename.* TO xxx@localhost // xxx는 계정이름
-> IDENTIFIED BY "password"; // password 는 xxx 계정의 패스워드를 입력
Query OK, 0 rows affected (0.00 sec)
mysql> FLUSH PRIVILEGES;
Query OK, 0 rows affected (0.01 sec)mysql> EXIT
Bye
$
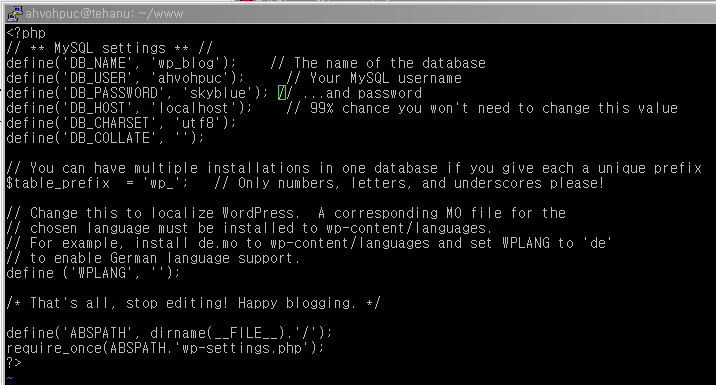
4. wp-config-sample.php 파일의 이름을 wp-config.php로 바꾸고, 편집한다.
// ** MySQL settings ** //
define('DB_NAME', 'wordpress'); // mysql에 설정한 데이터베이스 이름
define('DB_USER', 'username'); // mysql 사용자 이름
define('DB_PASSWORD', 'password'); // ...and password
define('DB_HOST', 'localhost'); // 99% chance you won't need to change this value
define('DB_CHARSET', 'utf8');
define('DB_COLLATE', '');

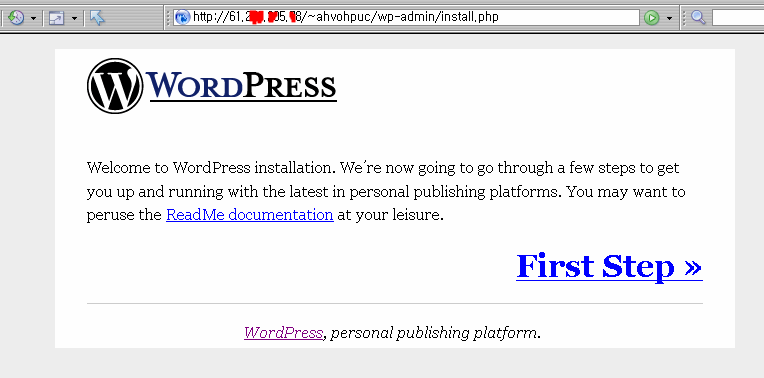
5. 웹브라우져를 열어 설치를 계속한다.
http://example.com/blog/wp-admin/install.php // wordpress 설치 디렉토리 이름이 blog일 경우
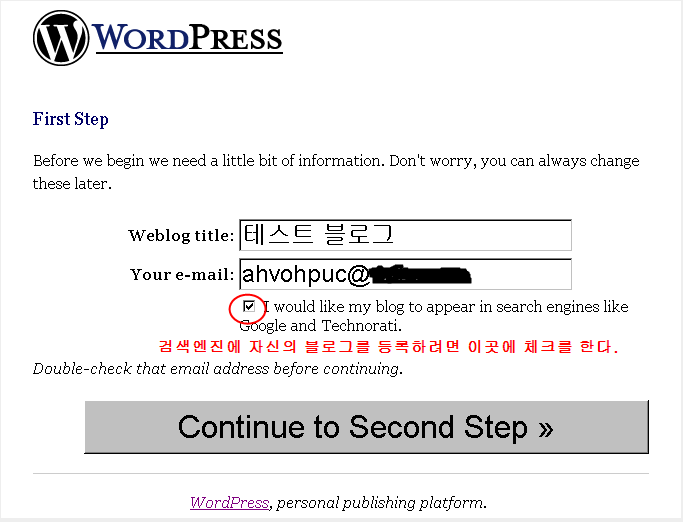
6. 블로그 이름과 관리자 이메일을 적는다.
7. 관리자 ID와 비밀번호를 받고, 블로그에 로긴한다.
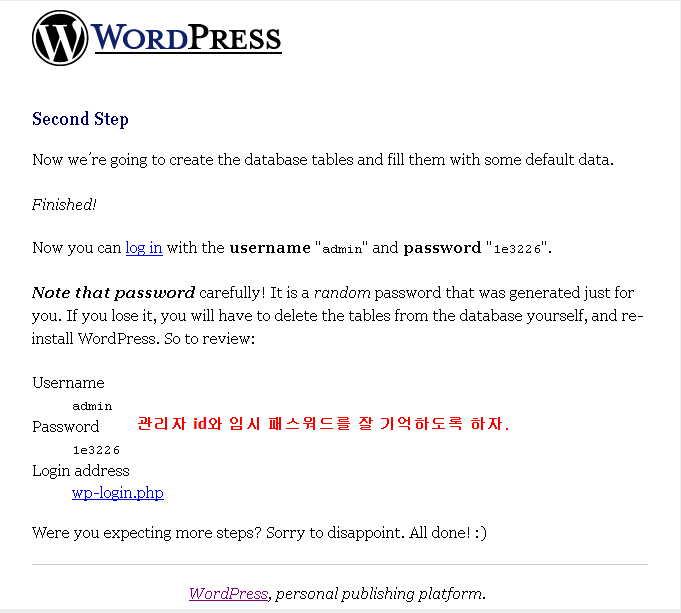
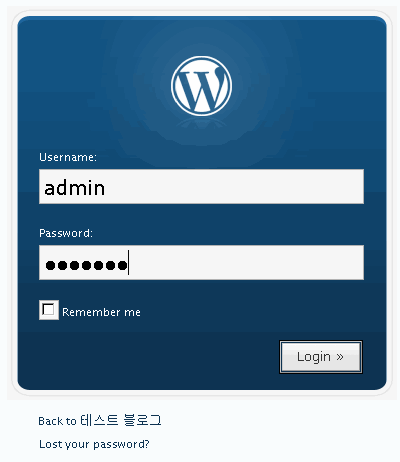
8. 아래와 같이 블로그 관리자 페이지가 나오면 성공 !

'ardor.. > blog.' 카테고리의 다른 글
| Microsoft Live Writer 로 티스토리에 포스팅하기 (0) | 2007.09.04 |
|---|

